T1 WALKTHROUGH
Image depth
Takes one H × W × 3 RGB image and returns an H × W depth map in metres.
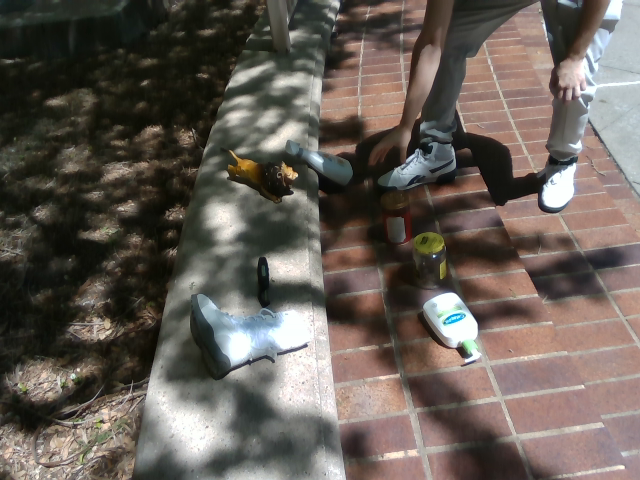
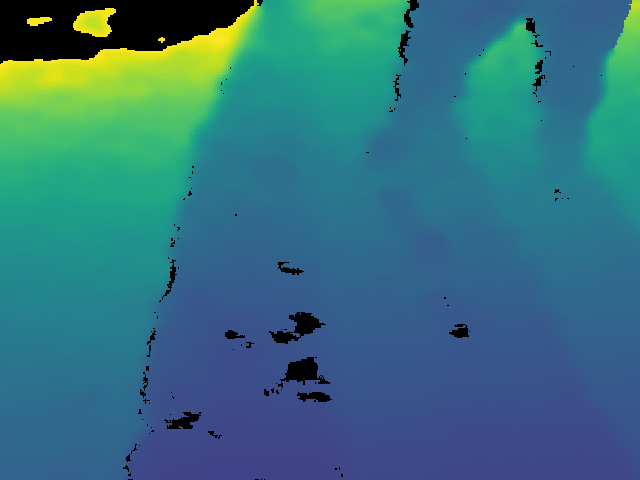
Scene 049, Interaction, frame 00185. The right image is the released ground-truth depth, colorized over 0.3–5.0 m; black pixels are invalid or beyond 5 m and are not scored.
Connect your model
Put your prediction function in my_model.py. Load the model or API client once, at module level, rather than on every call.
import numpy as np

def predict_depth(rgb):
    # model is yours, loaded once above; it must return metres
    depth_metres = model.predict(rgb)
    return np.asarray(depth_metres, dtype=np.float32)
Return one float per pixel, in metres. If your model only predicts relative (up-to-scale) depth, say so with --depth-output-kind relative; don't rescale it yourself.
Run the benchmark
Install the toolkit with pip install 'rpx-benchmark[hub,schemas]'. The smoke test checks the install; the second tab scores your model.
This runs the real evaluator on a few synthetic inputs with a placeholder model. Nothing is downloaded and no weights are needed. The output directory must be new or empty.
Run this from the directory that contains my_model.py. Without --manifest, the command downloads the data it needs first.
python -m rpx_benchmark.examples.benchmark_tasks \
  --task T1 \
  --model my_model:predict_depth \
  --model-name my-model \
  --model-revision exact-checkpoint-or-api-version \
  --output results/my-model/T1 \
  --device cuda \
  --split easy \
  --max-samples 10
Ten samples are enough to check the wiring; drop --max-samples to score the whole split. To use data you already have on disk, add --manifest path/to/manifest.json (see using local data).
Read the results
The output directory holds result.json, summary.md, per-sample tables and cell logs. run_config.json records the model revision and the manifest hash. From Python, the run_* functions return (result, report, paths).
Check that the number of scored samples matches what you asked for. Keep the per-sample records: Φ and 𝒥min are computed from them. Latency and memory are measured separately, with the hardware profiler.
Scoring and protocol
model in the example is your own estimator; RPX doesn't provide one. Metric depth is the default (--depth-output-kind metric). With --depth-output-kind relative, predictions are fitted to ground truth with a least-squares scale and shift (ls_affine) before scoring.
The runner writes raw depth errors and per-cell records. Pixels without valid ground-truth depth are excluded, not treated as zero. The paper's F-score uses fixed intrinsics, so it needs the original image size and camera calibration; the small synthetic images in the smoke test can't exercise it.
Before a full run
Check units, shapes, input order and sample IDs on a small run first. Pin the model revision, and keep the split and preprocessing the same for every model you compare. The smoke test only exercises the evaluator; your model still needs its own environment and weights.
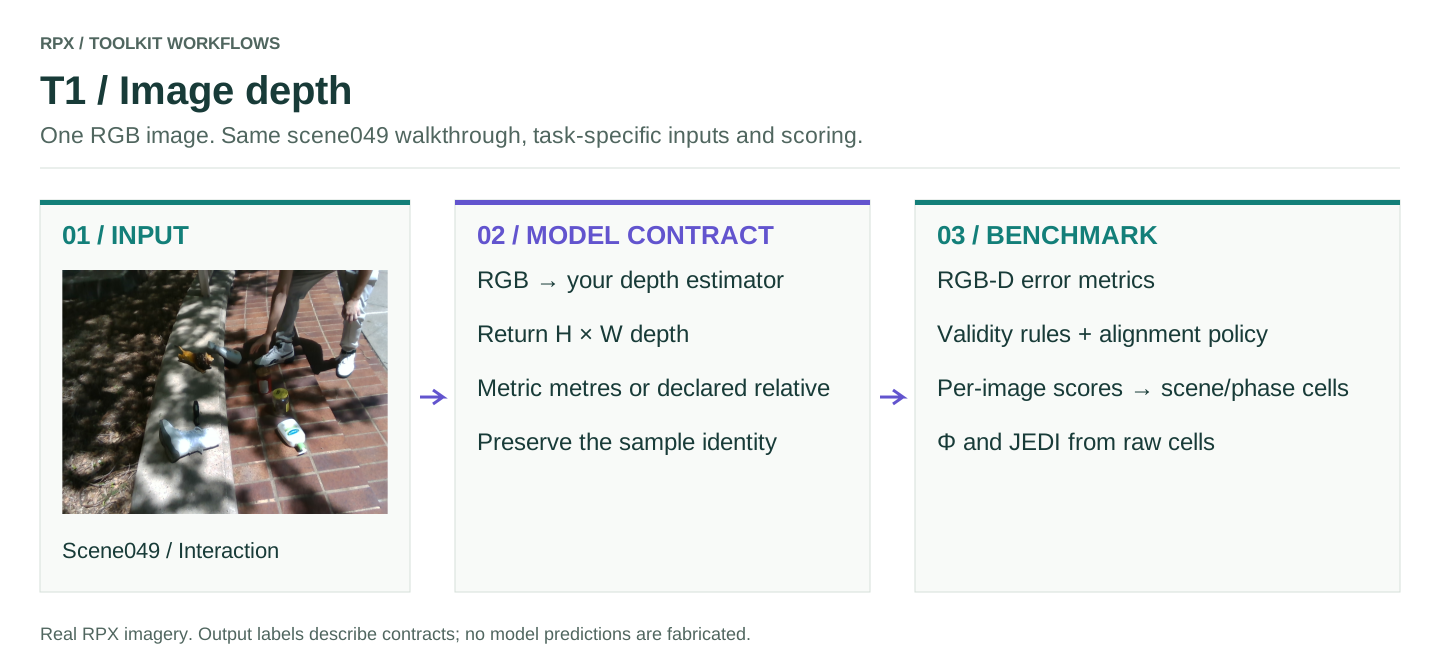
Workflow figure
T1 workflow (SVG): the inputs, adapter and scoring stages for this task.